Step 1
Create or open your Faurya site
Log in to Faurya and open the site or project where you want to track WordPress traffic.
WordPress Integration
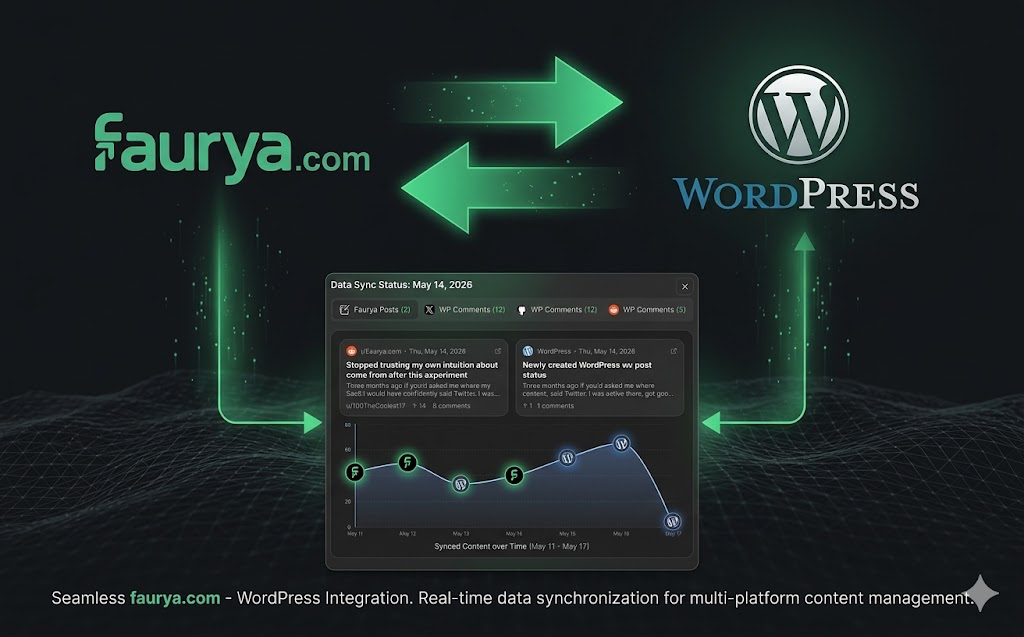
Connect your WordPress site with Faurya to track visitors, pageviews, conversions, campaigns, and product analytics from your WordPress website.
WordPress plugin settings screen with API key connection and tracking controls for site analytics.
Ensure you have the following ready before you install the plugin.
Follow these steps to connect your WordPress website with Faurya.
Step 1
Log in to Faurya and open the site or project where you want to track WordPress traffic.
Step 2
In your Faurya dashboard, open API settings for your site and copy the API key.
Step 3
Install via Plugins -> Add New (search faurya) or upload the plugin ZIP, then activate it.
Step 4
Open Settings -> Faurya in WordPress, paste your API key, and click connect/save.
Step 5
Save once, visit your site in a new tab, then check Faurya real-time/events to verify tracking.
Typical settings you will see in the faurya plugin configuration.
| Setting | What it does |
|---|---|
| API Key | Authenticates your WordPress plugin and links it to the correct Faurya site. |
| Enable tracking | Turns plugin tracking on or off without uninstalling. |
| Track pageviews | Automatically tracks page visits across your WordPress pages and posts. |
| Track conversions | Sends conversion events configured in Faurya for performance measurement. |
| Campaign/UTM tracking | Captures traffic source, campaign, medium, and term information. |
| Debug mode (if available) | Helps validate events during setup before production rollout. |
| Connection status/test | Confirms your API key is valid and the plugin can send events. |
Automatic pageview tracking
Visitor analytics
Campaign and UTM tracking
Conversion tracking
Lightweight analytics script
Privacy-friendly analytics
WordPress-friendly setup
Quick checks for common setup issues.
Open your Faurya dashboard in real-time mode, then visit your website in an incognito window. If events still do not appear, verify tracking is enabled and your API key is correct.
A single incorrect character can break authentication. Copy the API key again from Faurya API settings and paste it directly into the plugin settings.
Clear page cache, CDN cache, and any optimization plugin cache. If script deferring/minification is enabled, exclude the Faurya script from aggressive optimization.
Ensure your WordPress version and PHP environment are compatible, then retry activation. If the issue continues, disable conflicting plugins and activate faurya again.
Check role permissions (Administrator recommended), disable admin-side caching, then save again. Also confirm there are no security plugins blocking settings updates.
Yes. The plugin is named faurya and connects your WordPress site to your Faurya project.
Yes. The plugin is designed for self-hosted WordPress.org websites.
Support depends on your WordPress.com plan and plugin installation access. Self-hosted WordPress.org is the recommended setup.
No coding is required. Install, paste your API key, and save.
In your Faurya dashboard, open the site API settings and copy the API key for that project.
In most cases, first events appear within seconds to a few minutes after setup.